Provisioning a workspace
How to provision and use a Falu workspace
The primary function of a workspace is to store and organize your Falu content. It is only after provisioning a workspace that one can access the various Falu services either through the Dashboard or Falu's APIs.
The Dashboard provides a no-code environment through which you can interact with Falu's services, while the APIs allow you to do so programmatically.
To use the APIs, you need API keys that are only available within your Dashboard. Check Using the Falu APIs for more information.
Provisioning a workspace
Before you begin
Falu does not have a default workspace provisioned. To create a workspace from scratch, visit https://falu.io and click Sign In to create a new account.
However, if you already belong to or own a Falu workspace and wish to create another, log into your existing workspace and proceed from therein.
Steps to create a workspace
(a) From scratch
-
Visit https://falu.io and click
Sign Into create a new account.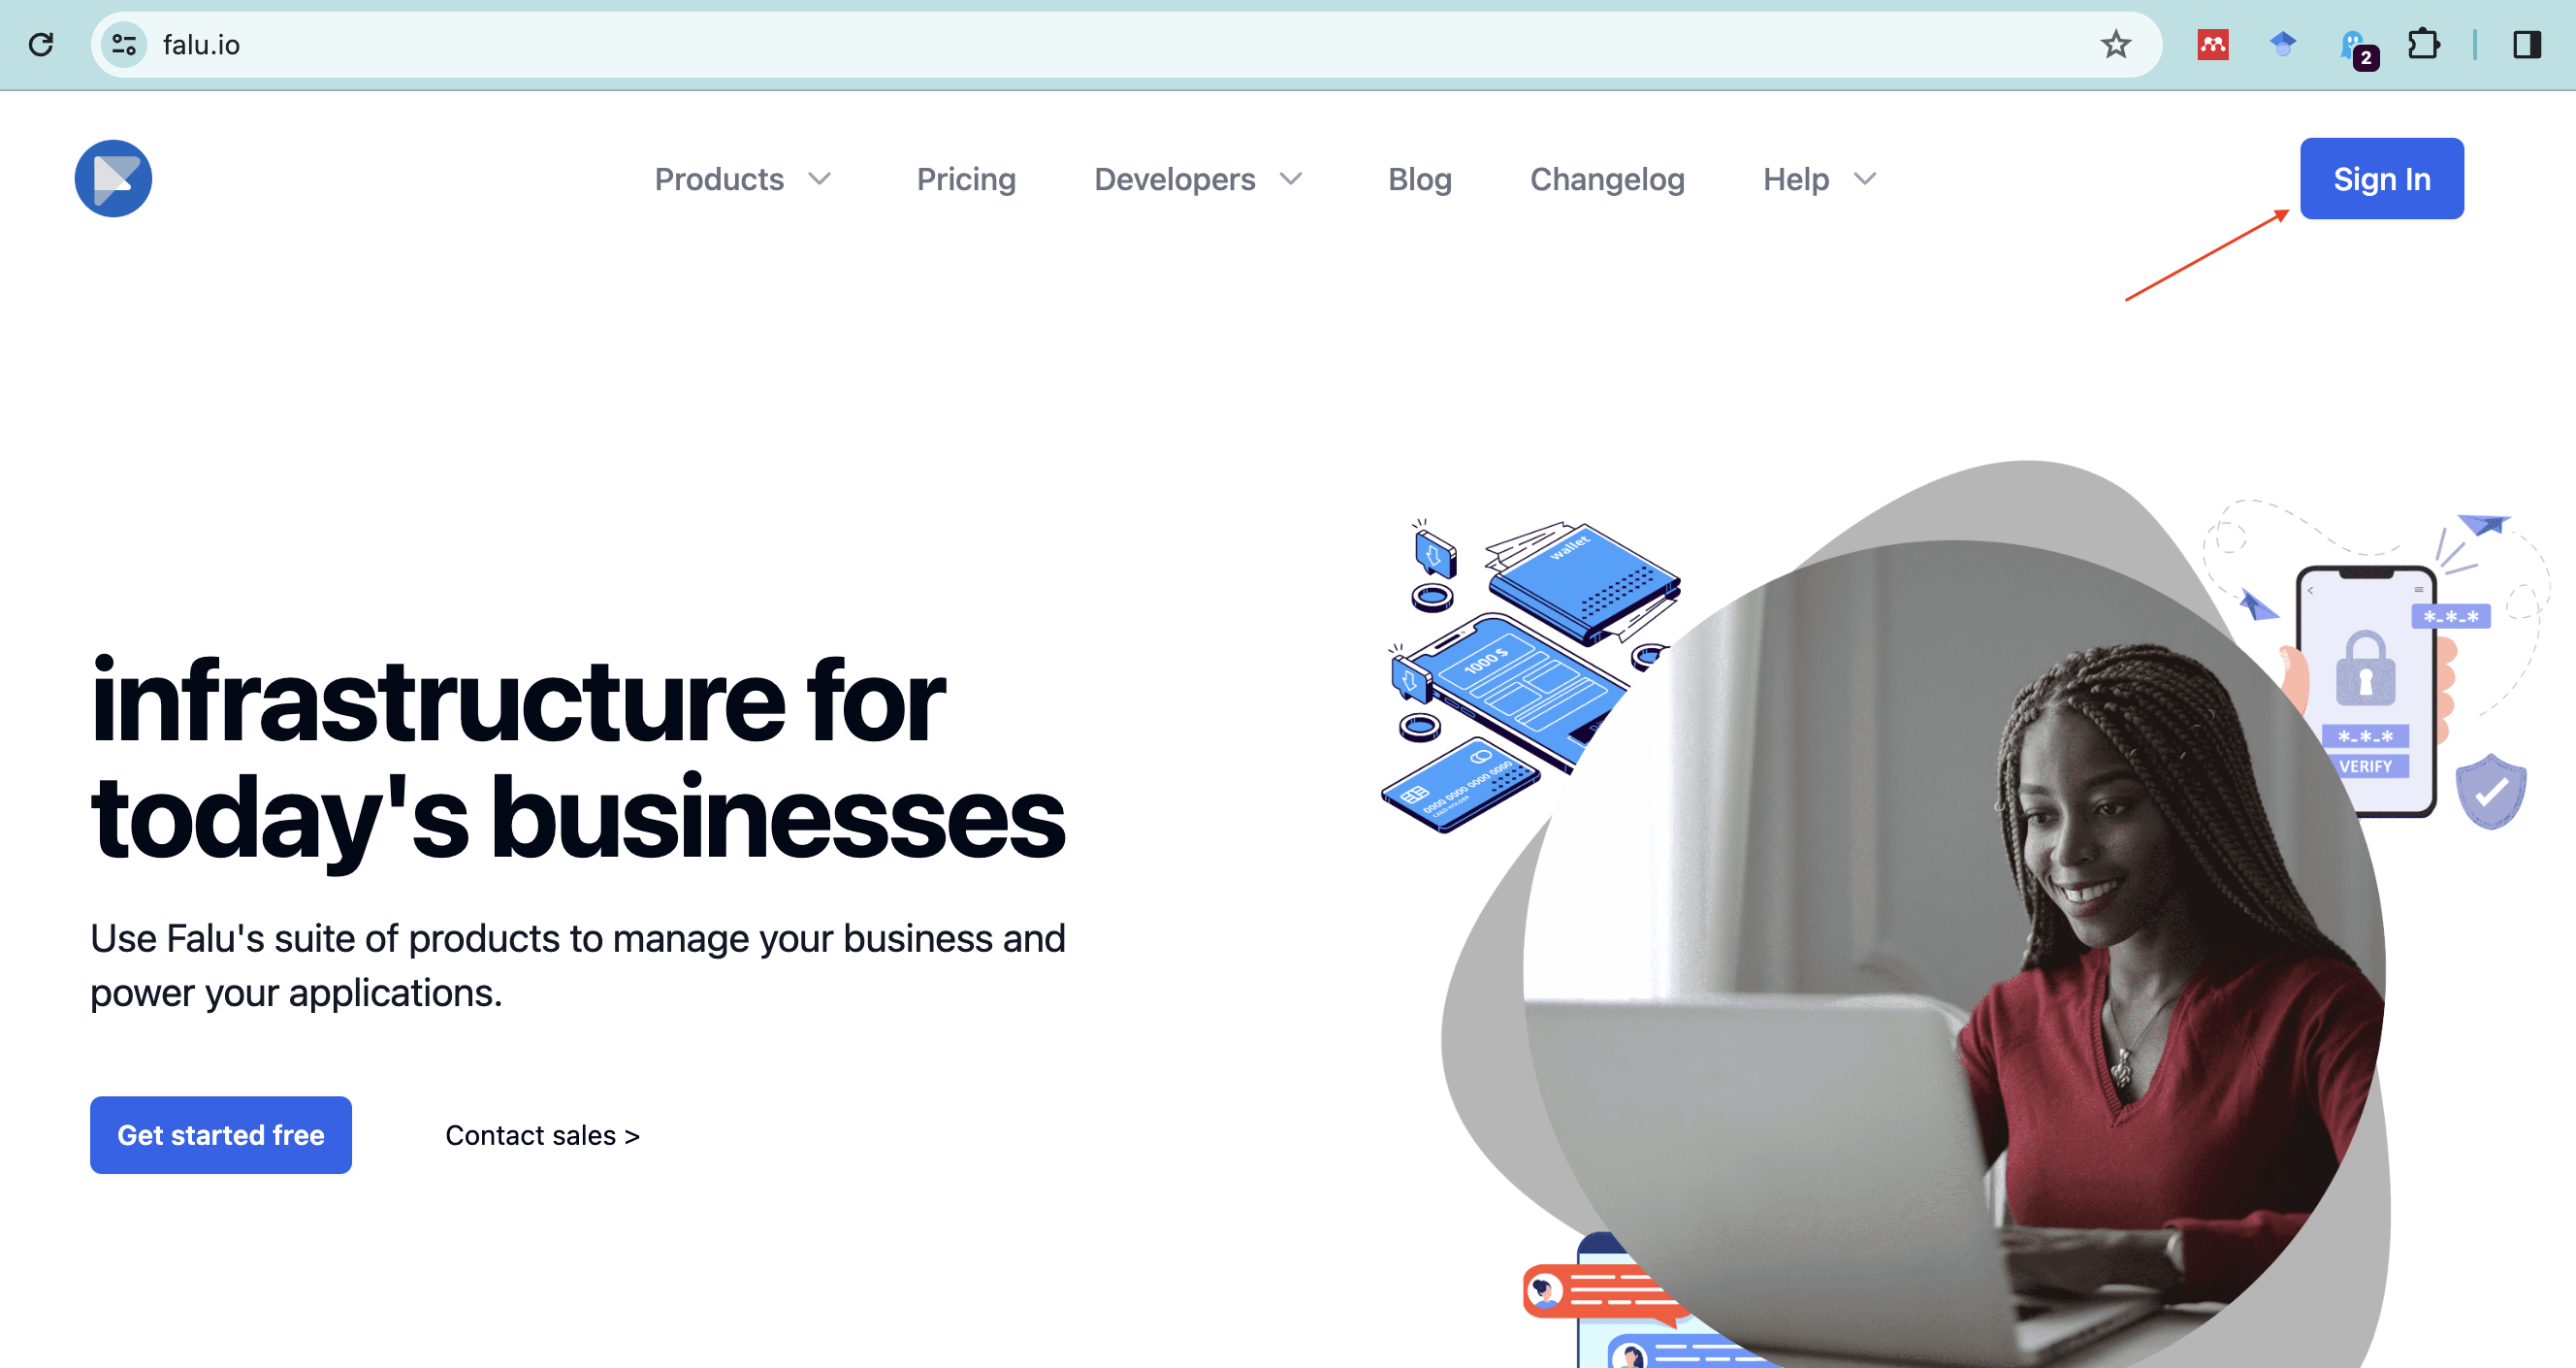
-
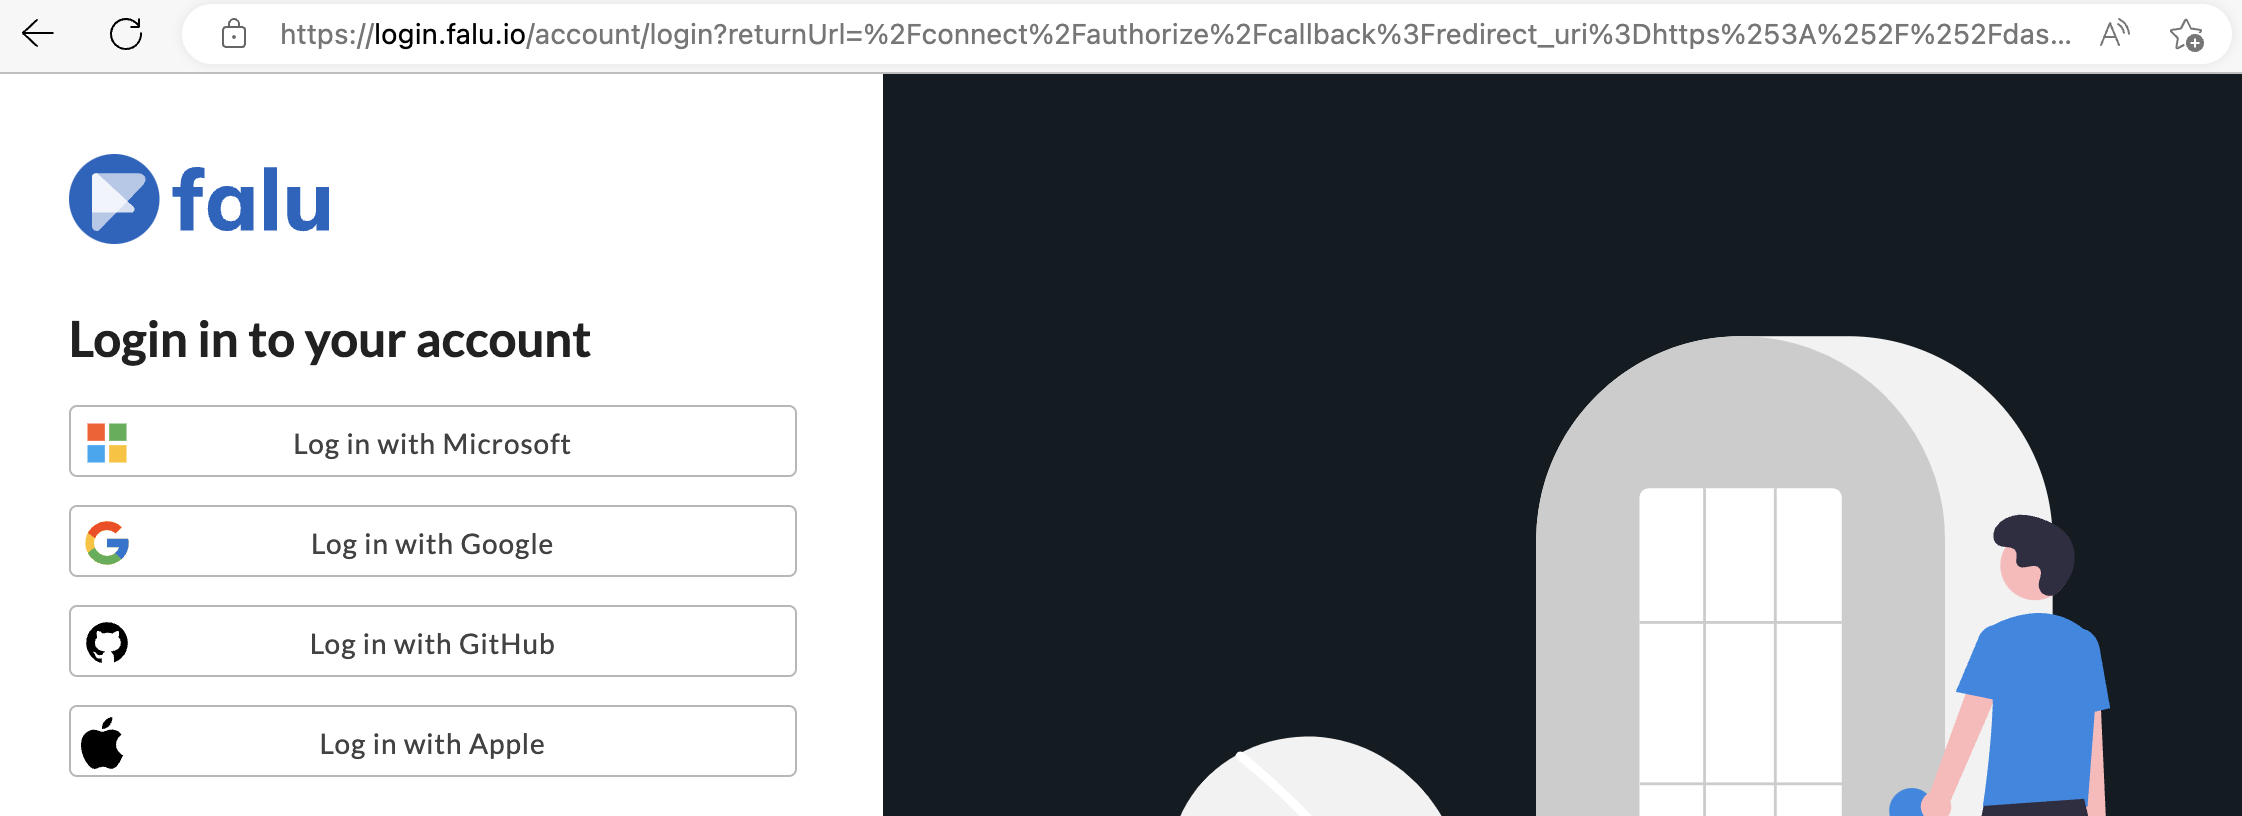
Create an account by logging in using your preferred account service.
-
Create your first workspace by clicking on
Create Workspace.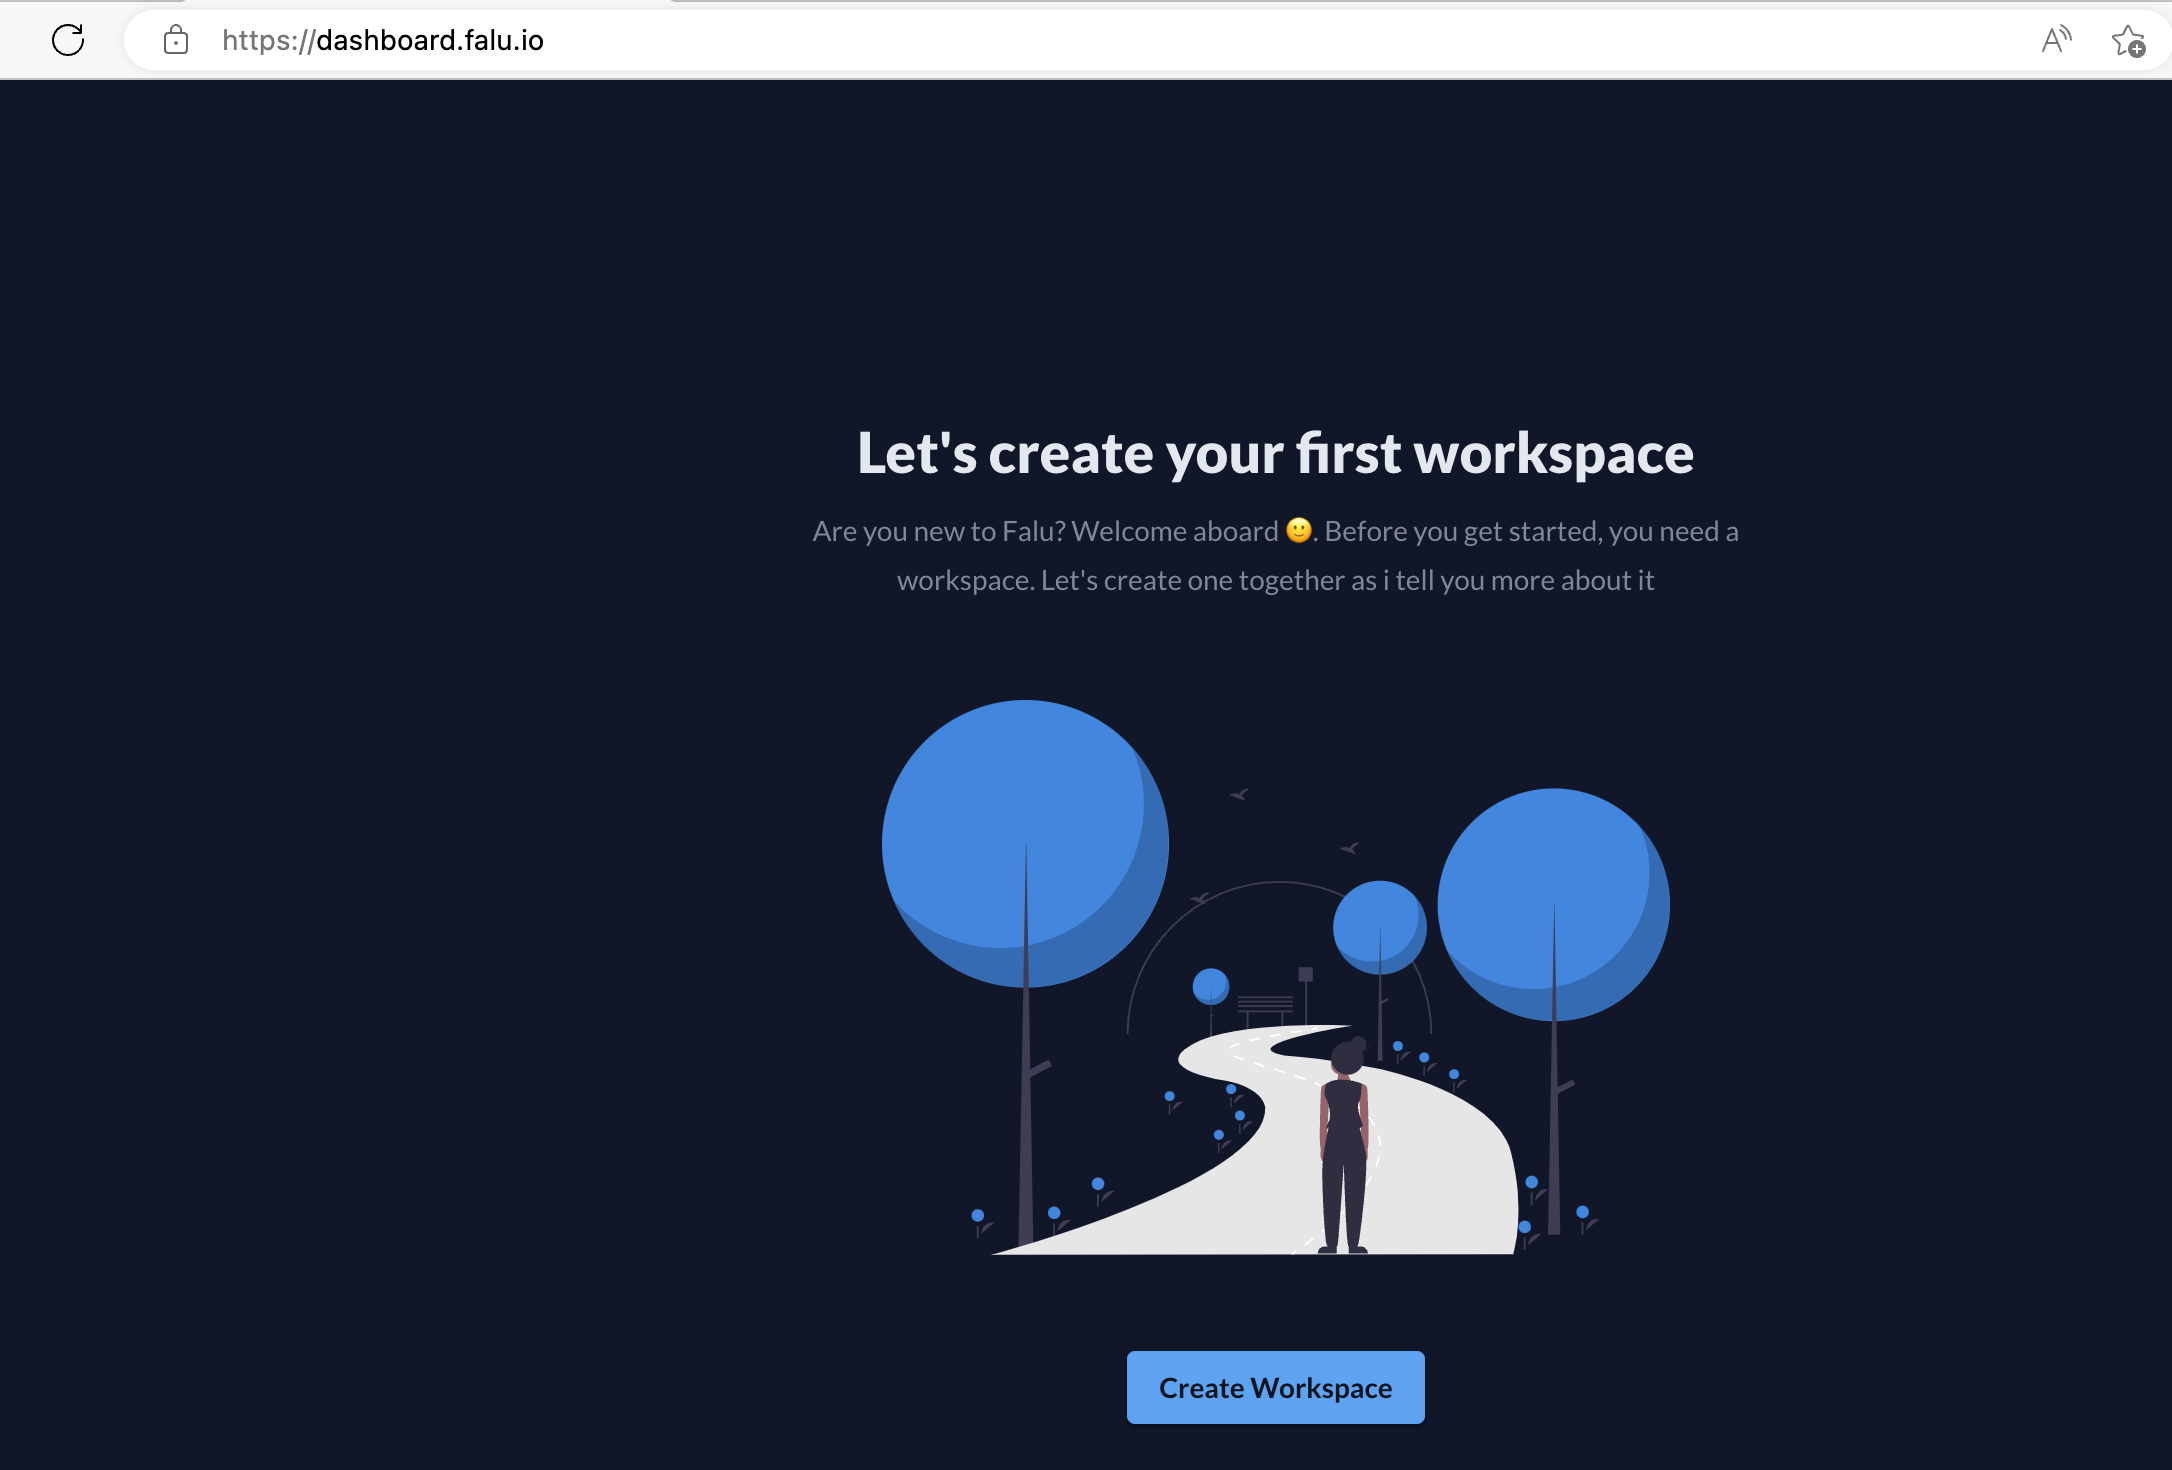
-
Proceed to step 2 in the section below.
(b) From an existing workspace
-
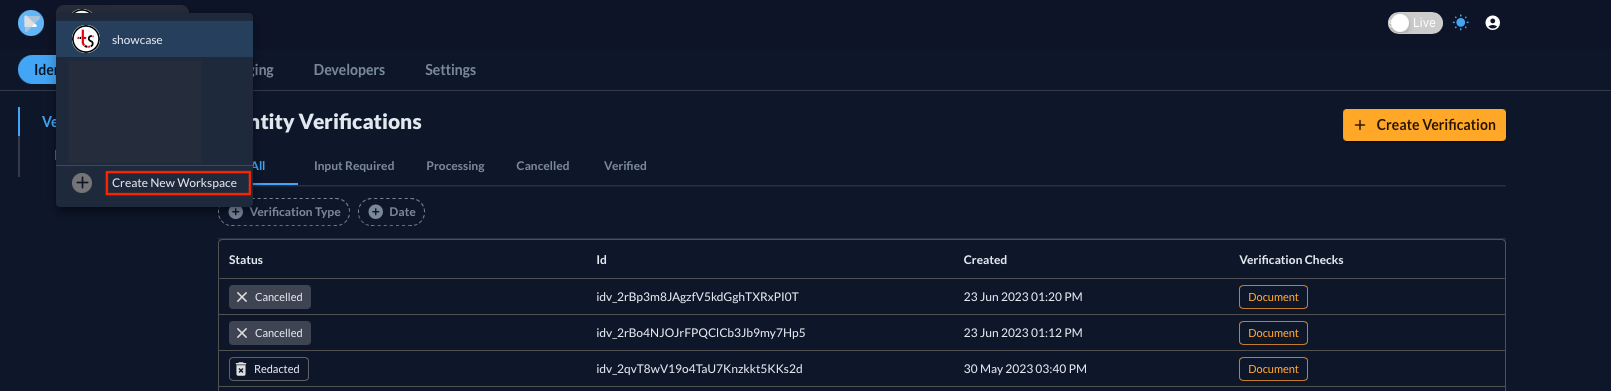
In a given workspace environment, click on Create New Workspace.
-
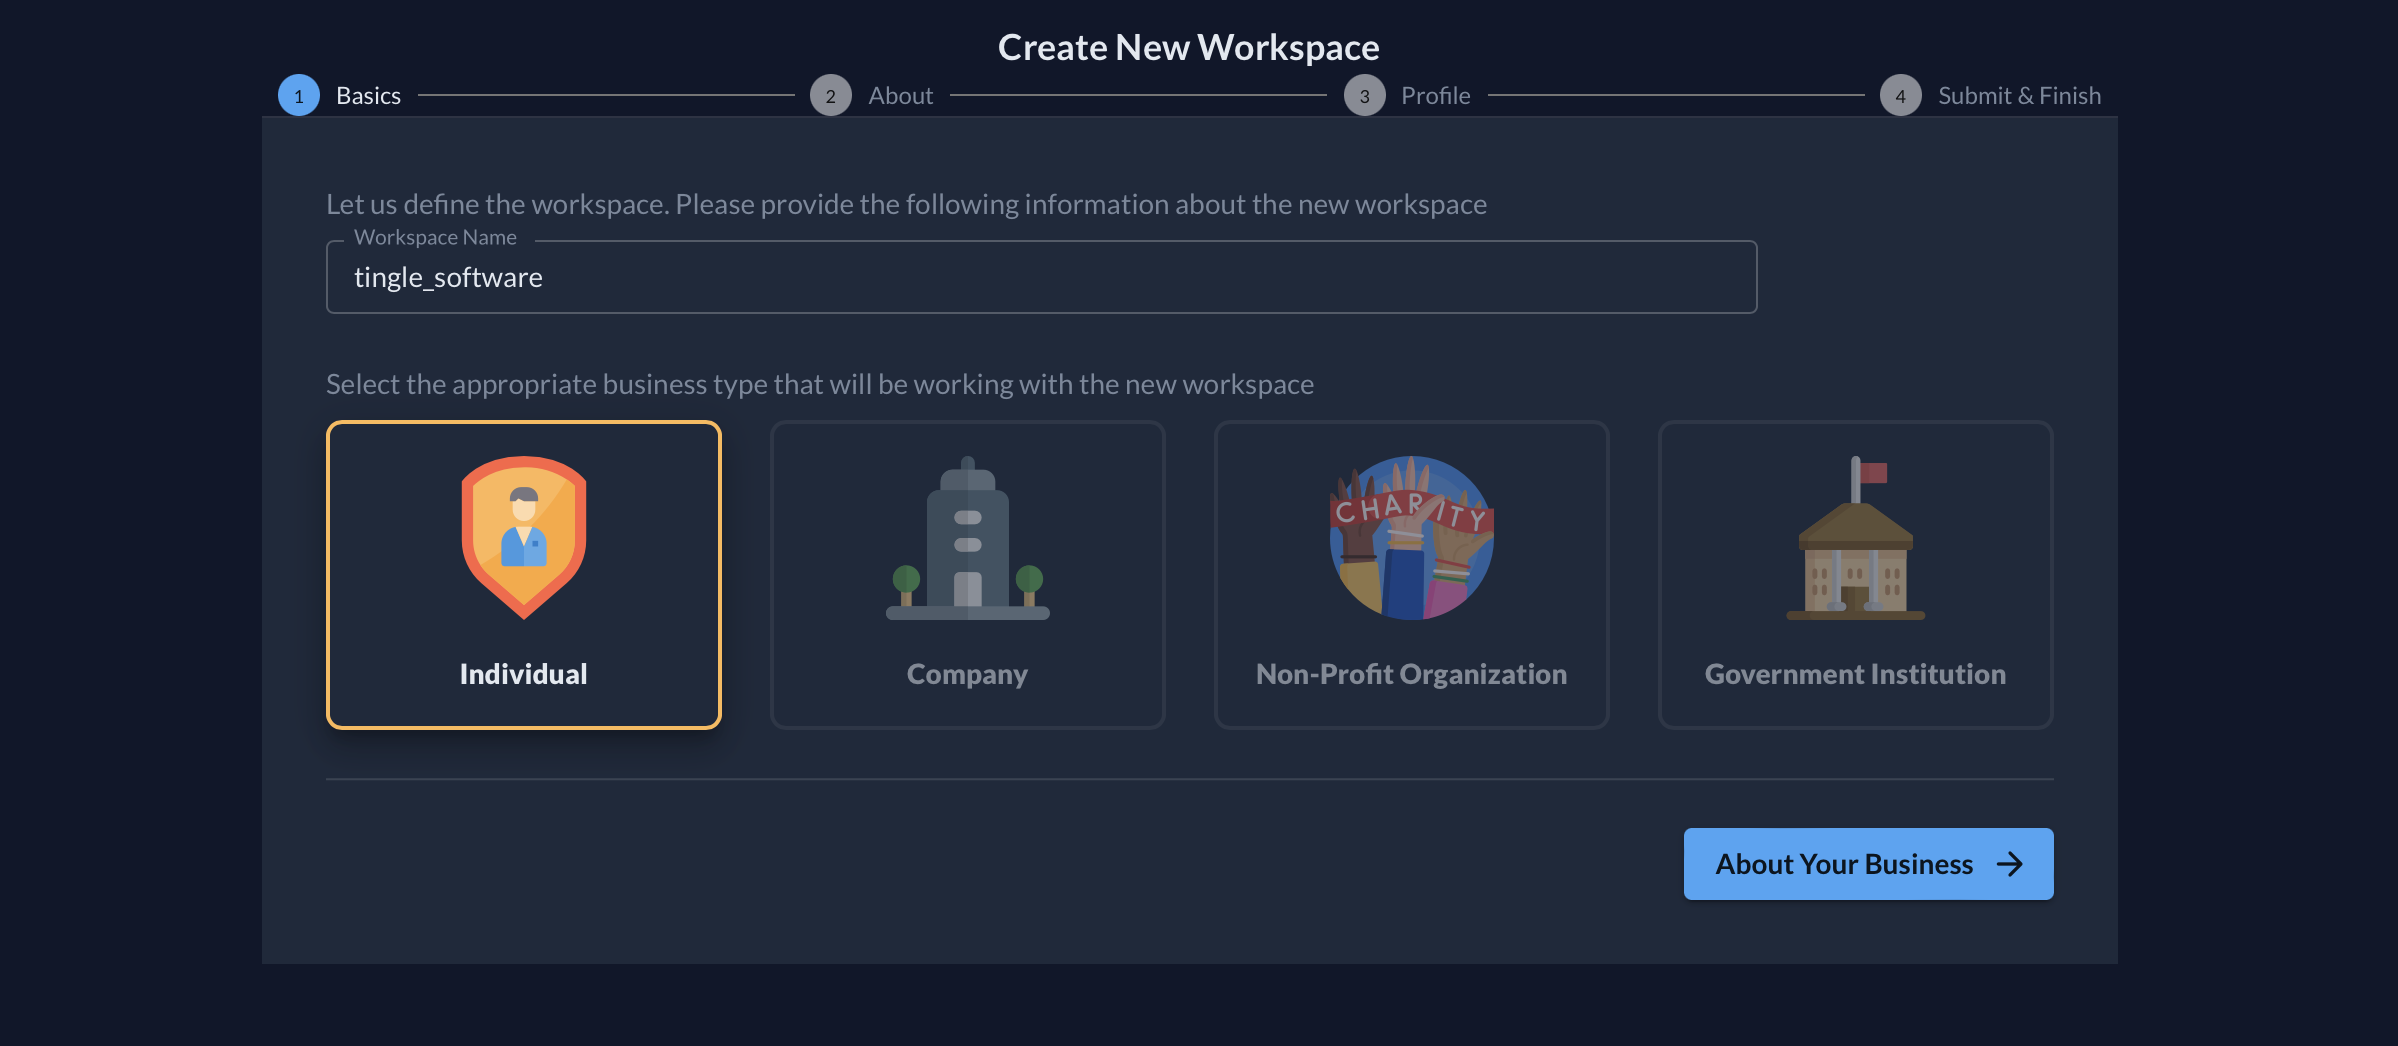
Fill out the following fields in the Basics step:
-
Workspace Name: Give the Falu workspace a name. For example,
Contoso -
Select the business type appropriate for the new workspace. One can choose among four options:
Individual,Company,Non-Profit Organization, orGovernmental Institution.
For more information regarding your business type, refer to Entity Types.
-
-
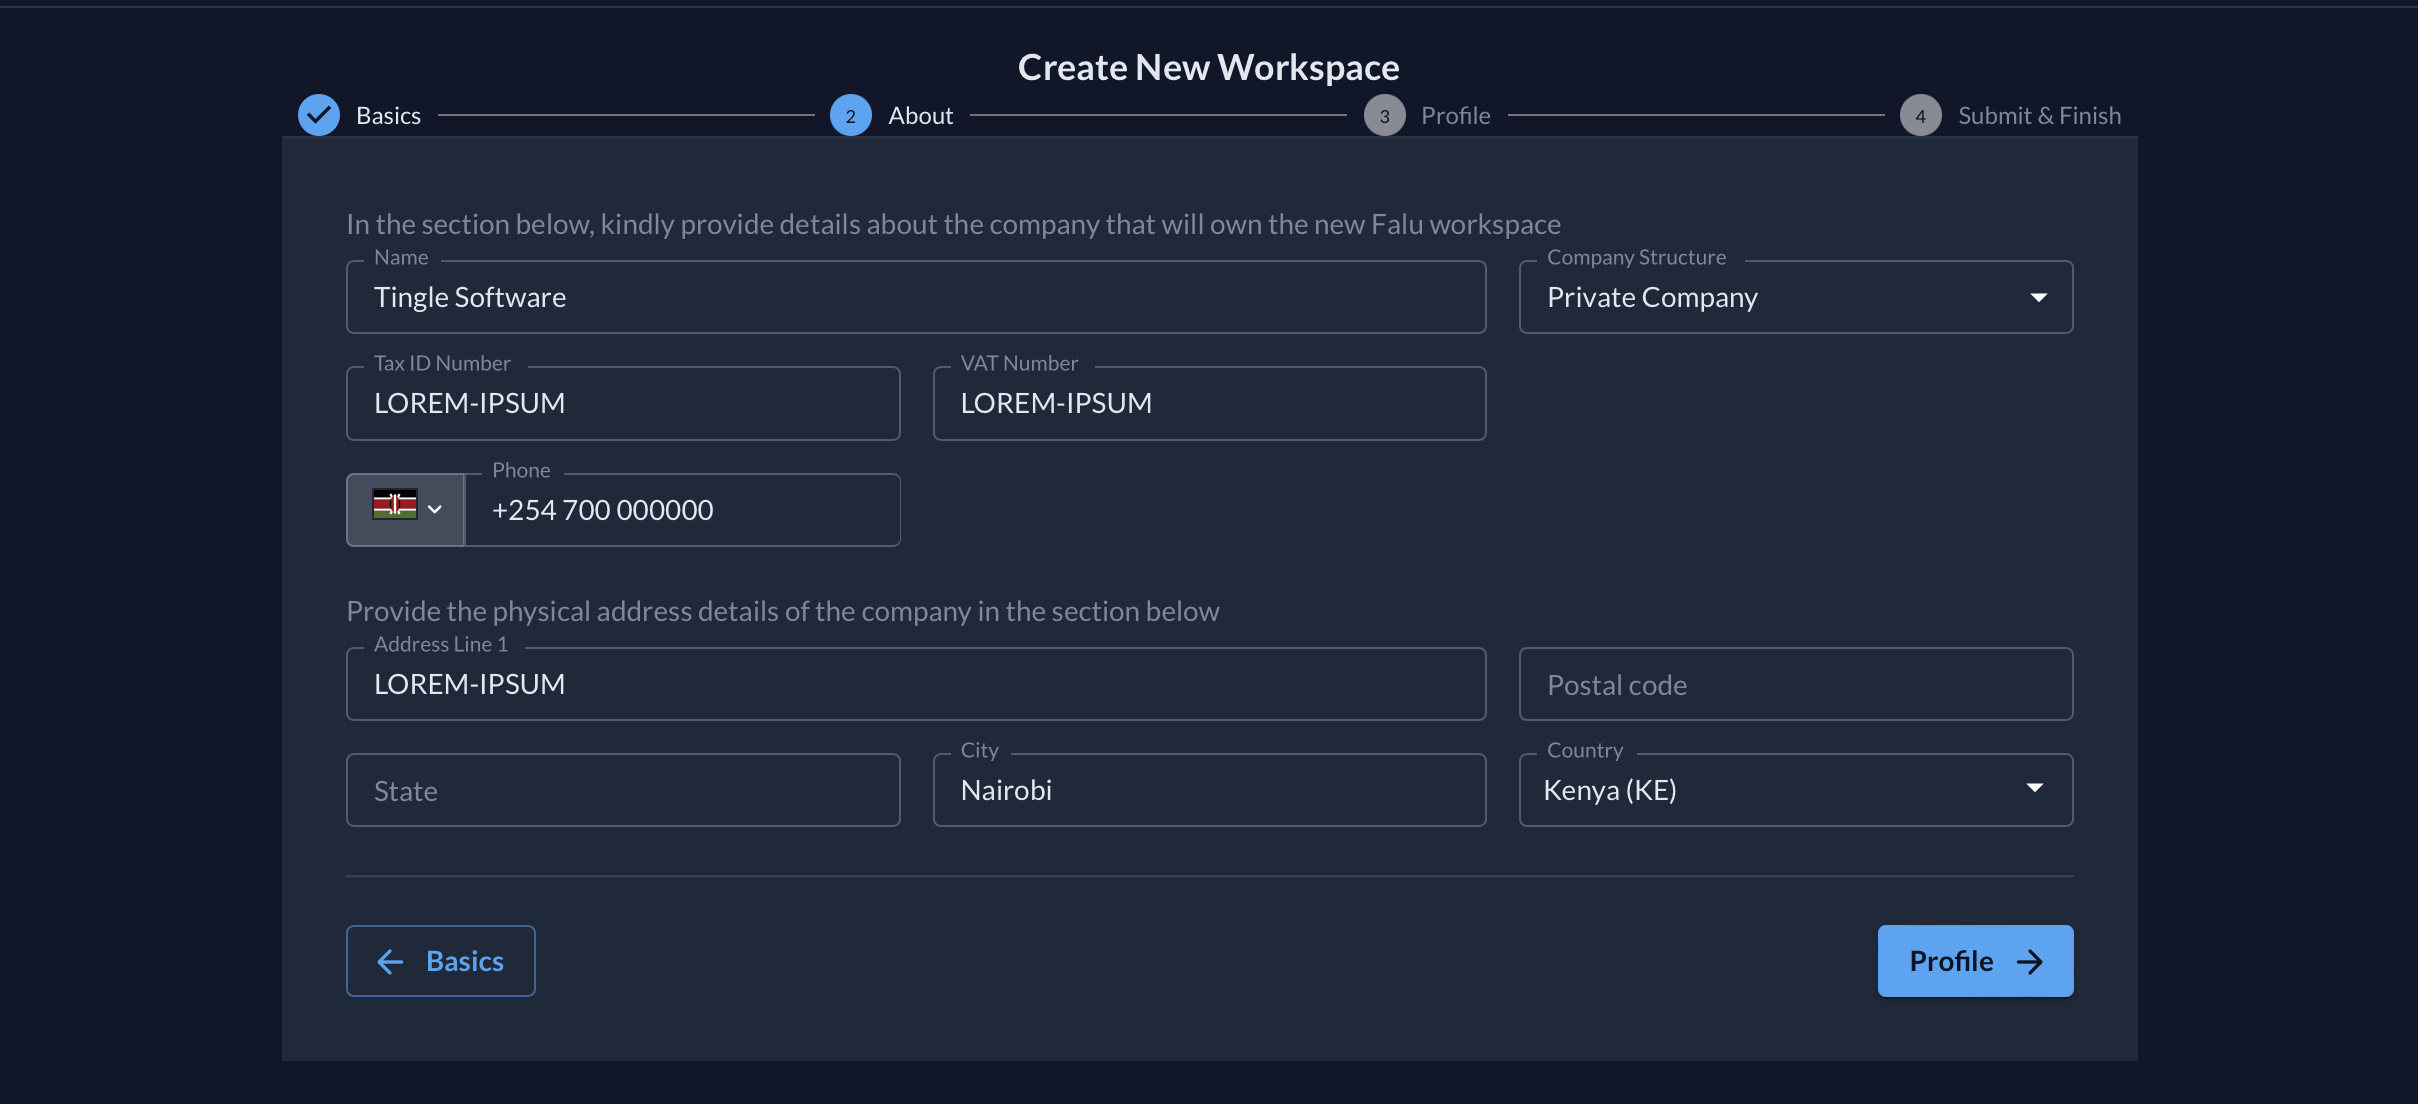
Depending on the selected business type, fill in the details on the About page.
Below is some information about a fictitious company.
-
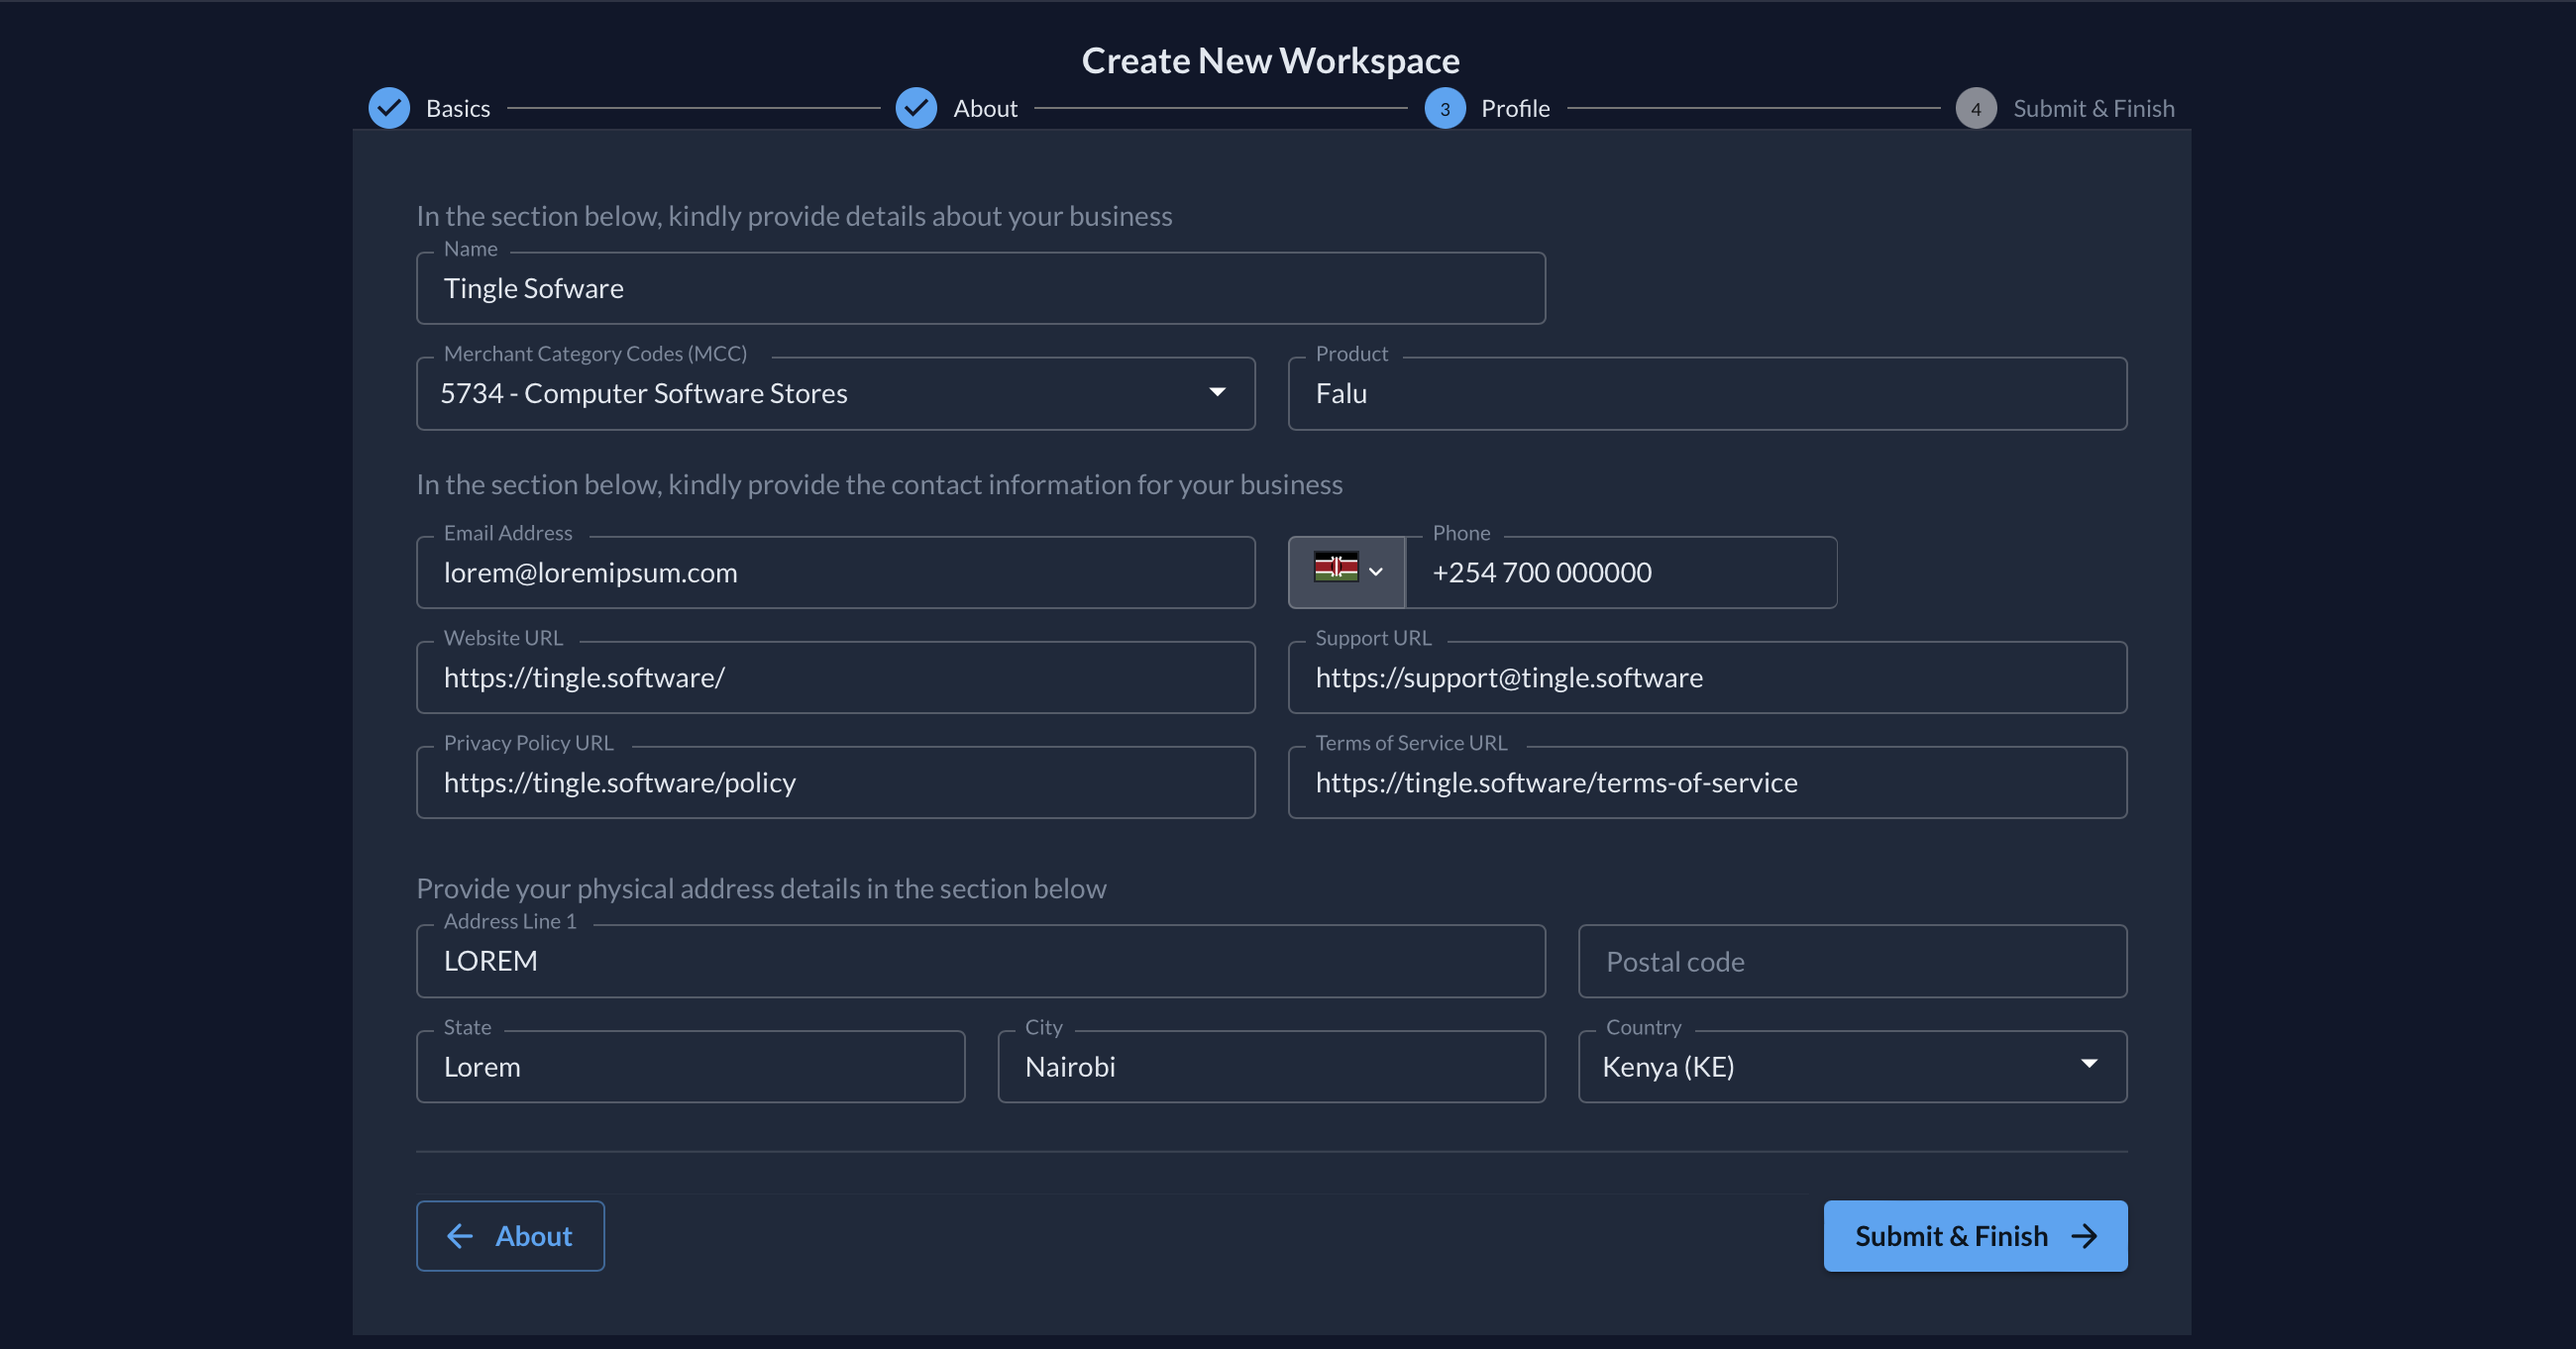
Proceed to the Profile page and fill in the appropriate details.
-
Click on the Submit & Finish button to complete the process. A page displaying the input details will appear, allowing you to confirm their correctness. Go back and edit the responses should you spot any errors. After confirming that all the details are correct, re-click on the
Submit & Finishbutton.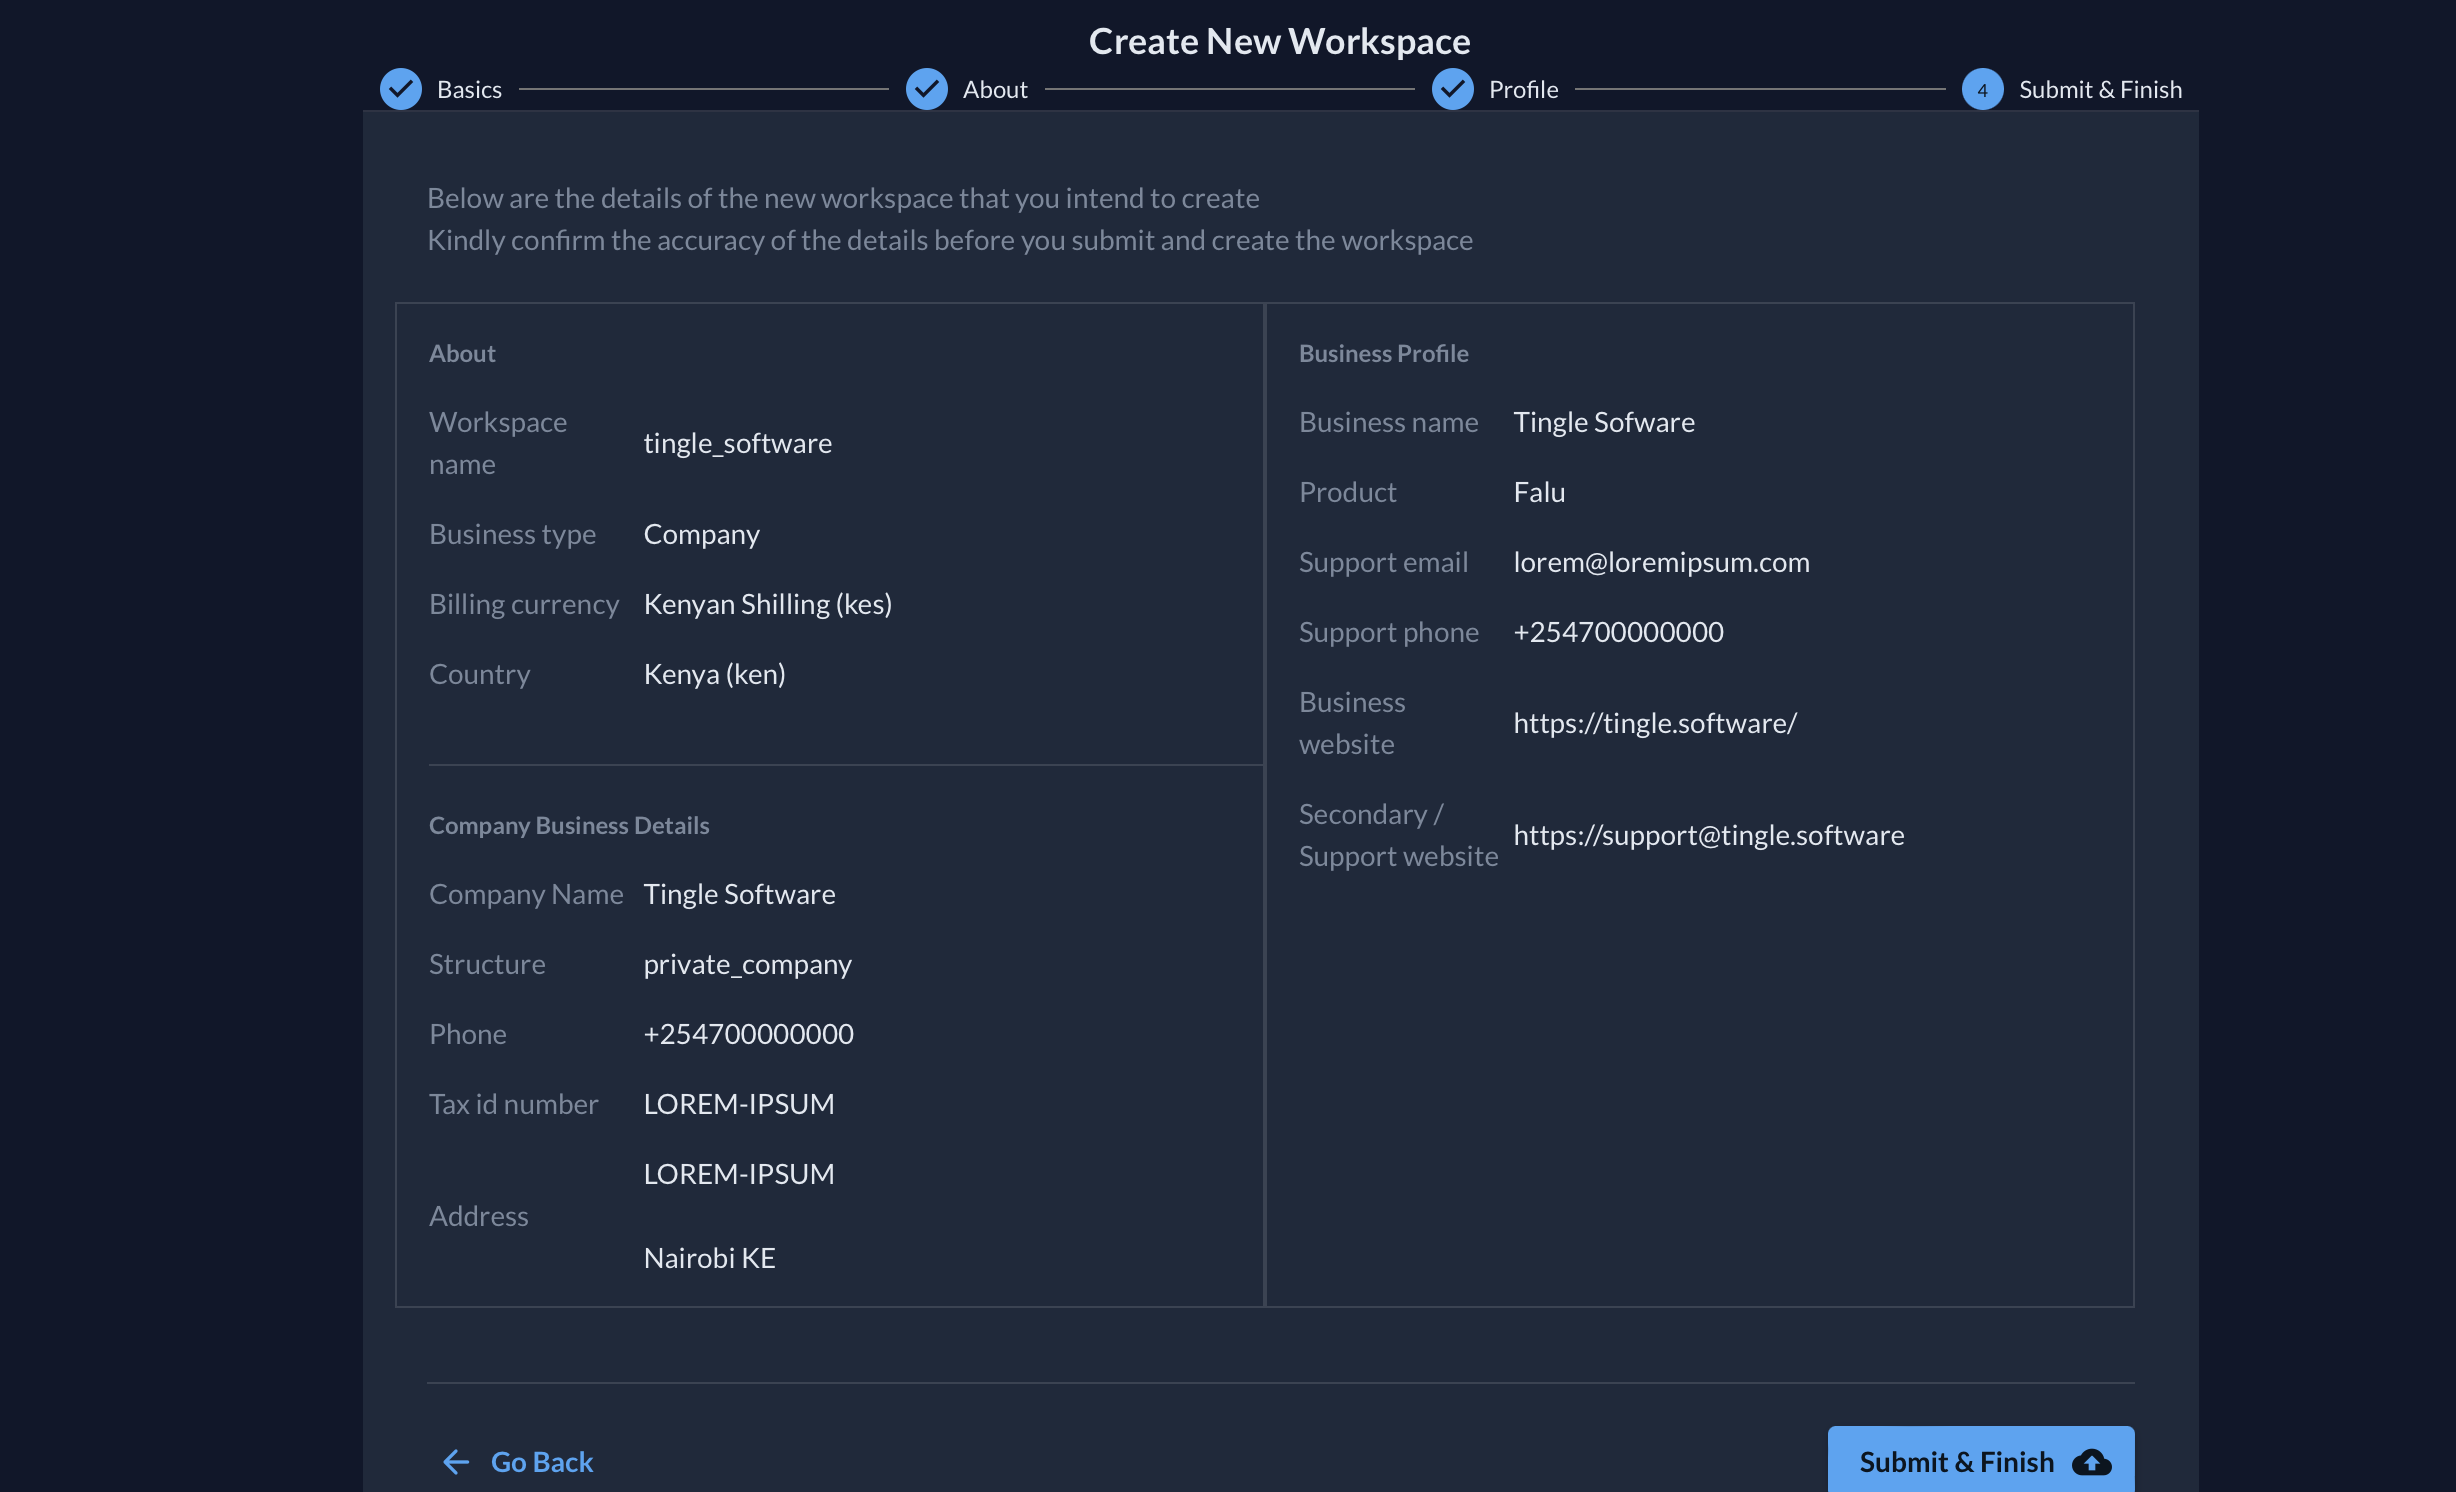
-
A new workspace bearing the input details will be created for you automatically for use in Test mode. Once the information is validated, Falu's support team will approve the workspace for use in Live mode.
Workspace modes
Falu's workspaces exist in live and test modes.
- Test mode: This is the default mode for new and unauthenticated workspaces. It is meant to help users understand, experience, and test Falu's services.
- Live mode: Is very similar to Test Mode, but with only one difference: In live mode, actions are actually executed, leading to the intended results. For example, one can verify customer identities, send and receive messages, and process payments.
If you are creating a workspace from an existing one, make sure the existing workspace is in Test mode.